
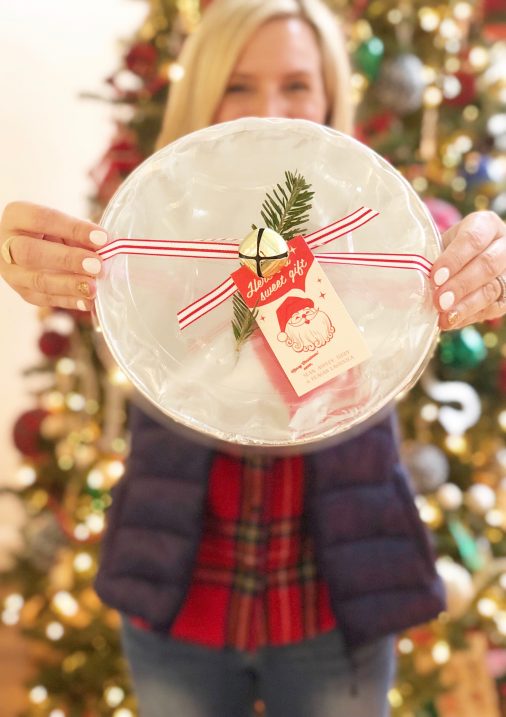
Happy Monday, my peeps! I hope you had a wonderful weekend! I had an epic baking day on Saturday and made 3 batches of cinnamon rolls, then decided I needed more and made more dough yesterday, which I’ll be rolling out this afternoon. If you are new to my blog, I will share a little background! Each year, I make homemade cinnamon rolls and deliver them to family and friends to enjoy on Christmas Day for breakfast. This is our gift to them! I did not do them last year since we had just moved and our kitchen was a disaster, but, this year, I was back in full force and made use of our great island and made even more rolls than usual. I love this yearly tradition and we all look forward to it! Teddy and Reagan love delivering them to our friends! I think our recipients love this tradition as well! I did a post about the rolls a few years ago, but have received so many questions, so, I’m going to try and cover everything in this updated post!
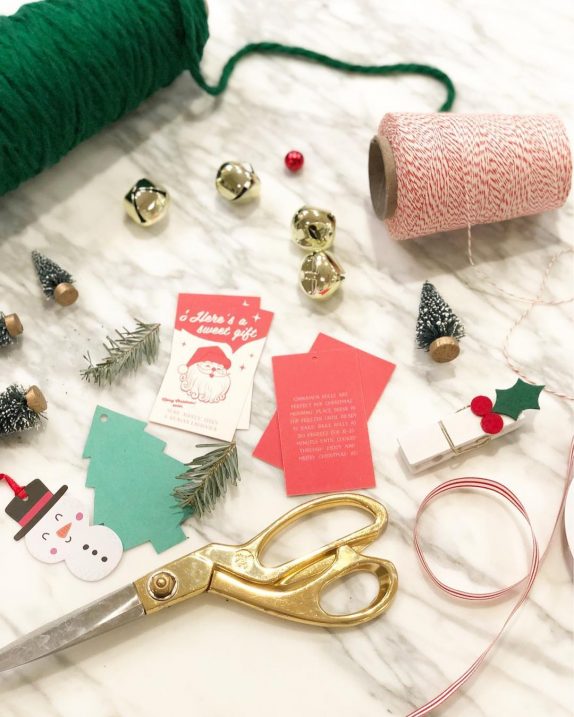
TAGS // RIBBON // BAKER’S TWINE // SCISSORS // BELLS // MINI TREES
First things first, I use THIS RECIPE. I tried it once YEARS ago and I’ve been hooked ever since. I have received tons of questions about the icing, it has coffee and maple in it and even my non coffee lovers, love these rolls. I do not modify the frosting recipe at all.
This recipe from The Pioneer Woman’s Website, to see step by step photos (these are helpful if it’s your first time!), head there, or grab her COOKBOOK (that’s what I use. makes a great gift idea too!)
THE BEST CINNAMON ROLLS RECIPE
Ingredients
INGREDIENTS
- 1 quart Whole Milk
- 1 cup Vegetable Oil
- 1 cup Sugar
- 2 packages Active Dry Yeast 0.25 Ounce Packets
- 8 cups Plus 1 Cup Extra, Reserved All-purpose Flour
- 1 teaspoon heaping Baking Powder
- 1 teaspoon scant Baking Soda
- 1 Tablespoon heaping Salt
- Plenty Of Melted Butter
- 2 cups Sugar
- Generous Sprinkling Of Cinnamon
MAPLE FROSTING:
- 1 bag Powdered Sugar 2 pounds
- 2 teaspoons Maple Flavoring
- 1/2 cup Milk
- 1/4 cup Melted Butter
- 1/4 cup Brewed Coffee
- 1/8 teaspoon Salt
Instructions
INSTRUCTIONS
-
*I added my personal thoughts in bold, the rest are from her site!
-
For the dough, heat the milk, vegetable oil, and sugar in a medium saucepan over medium heat to just below a boil. Set aside and cool to warm. Sprinkle the yeast on top and let it sit on the milk for 1 minute.
-
Add 8 cups of the flour. Stir until just combined, then cover with a clean kitchen towel, and set aside in a relatively warm place for 1 hour. After 1 hour, remove the towel and add the baking powder, baking soda, salt, and the remaining 1 cup flour. Stir thoroughly to combine. Use the dough right away, or place in a mixing bowl and refrigerate for up to 3 days, punching down the dough if it rises to the top of the bowl. (Note: dough is easier to work with if it's been chilled for at least an hour or so beforehand.)
-
Preheat the oven to 375°F.
-
To assemble the rolls, remove half the dough from the pan/bowl. On a floured baking surface, roll the dough into a large rectangle, about 30 x 10 inches. The dough should be rolled very thin.
-
To make the filling, pour 3/4 cup to 1 cup of the melted butter over the surface of the dough. Use your fingers to spread the butter evenly. Generously sprinkle half of the ground cinnamon and 1 cup of the sugar over the butter. Don't be afraid to drizzle on more butter or more sugar! Gooey is the goal.
-
Now, beginning at the end farthest from you, roll the rectangle tightly towards you. Use both hands and work slowly, being careful to keep the roll tight. Don't worry if the filling oozes as you work; that just means the rolls are going to be divine. When you reach the end, pinch the seam together and flip the roll so that the seam is face down. When you're finished, you'll wind up with one long buttery, cinnamony, sugary, gooey log.
-
Slip a cutting board underneath the roll and with a sharp knife, make 1/2-inch slices. One "log "will produce 20 to 25 rolls. Pour a couple of teaspoons of melted butter into disposable foil cake pans and swirl to coat. Place the sliced rolls in the pans, being careful not to overcrowd. *I do about 8-9 rolls per pan. I use circular (8.5 inch) and square (8 inch x 8 inch) pans.
-
Repeat the rolling/sugar/butter process with the other half of the dough and more pans. Cover all the pans with a kitchen towel and set aside to rise on the countertop for at least 20 minutes before baking. Remove the towel and bake for 15 to 18 minutes, until golden brown. Don't allow the rolls to become overly brown. *I watch mine carefully. Each oven is different, so be sure to keep am eye on yours!
-
While the rolls are baking, make the maple icing: In a large bowl, whisk together the powdered sugar, milk, butter, coffee, and salt. Splash in the maple flavoring. Whisk until very smooth. Taste and add in more maple, sugar, butter, or other ingredients as needed until the icing reaches the desired consistency. The icing should be somewhat thick but still very pourable. *I always follow the recipe as is and never need to add extra of any ingredients.
-
Remove pans from the oven and immediately pour icing over the top. I just eye it and make sure each roll is covered nicely! If delivering to family and friends, warm, cover with foil and head out to deliver!
-
FREEZE INSTRUCTIONS
-
I had lots of questions about this part! I fully bake and ice the rolls per instructions above, PRIOR to freezing them!
-
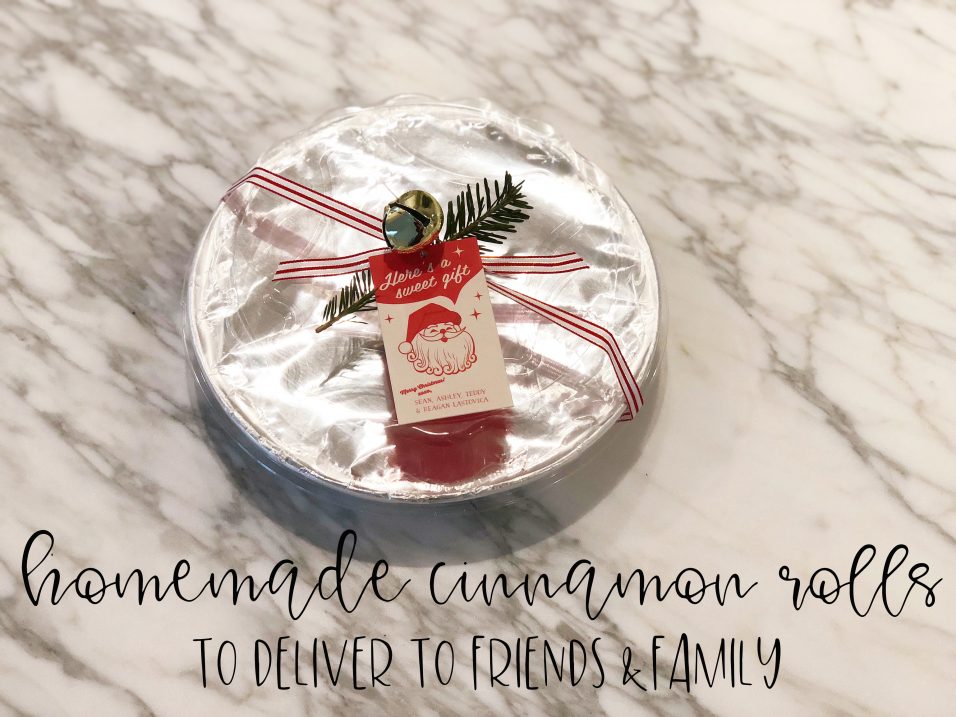
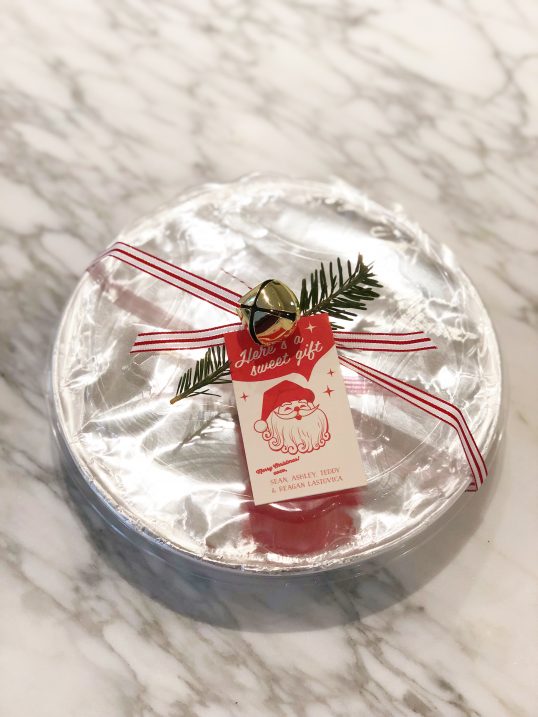
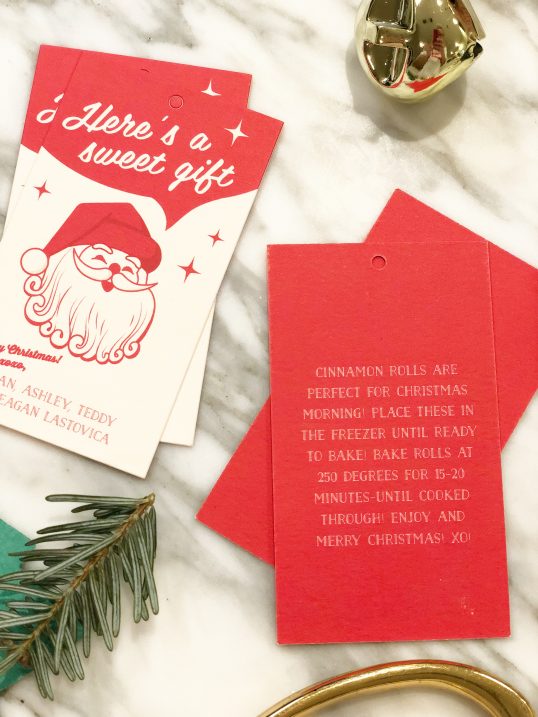
We deliver our rolls frozen, so that our friends can enjoy them Christmas morning. After I ice the FULLY BAKED rolls, I cover them with foil, and put them into the freezer. Once frozen, I wrap them up with cute ribbon and TAGS and we start delivering them. I also include instructions on how to bake the rolls, on the back of the TAGS.
-
INSTRUCTIONS AFTER FREEZING
-
Bake at 250-300 degrees for 12-18 minutes, just depending on oven. We personally bake at 250 and that is what the tags state. Again, you don't want to overcook them, especially since they've already been baked, this oven time is just to heat them up from the freezer. Chances are if you are making these, you'll want to freeze a few pans for yourself! Definitely follow these steps to keep some pans on hand for Christmas breakfast!


Do you let them cool before placing in freezer.?
it takes a bit to ice, foil, etc, so they have time to cool a bit before I place them in freezer!
Do the rolls go in the oven frozen, or do they need to be thawed and just warmed.
we put them right into the oven
Wish me luck!
Are they soggy after freezing and then rebaking? Trying to decide if I should deliver on Christmas Eve unfrozen. They look delicious!!!
I’ve never had an issue with them being soggy. Been doing it this way for years. 🙂
Thank you!!!
Do you use pure maple extract or maple flavor? I could only find pure maple extract at my local grocery store.
maple extract!
Can’t wait to make these!
Do you double or triple the recipe when you make it?
this year i quadrupled it!
We make these cinnamon rolls every year for Christmas as well and we LOVE them!
I remember reading your blog years ago about these , I have been making them ever since! They always are a huge hit and turn out great!!Merry Christmas
Did you make your own tags? Or where I can I find them?
the tags are linked within the post! just click the highlighted “TAGS” to be taken to a link. 🙂
When baking from frozen, do you leave the foil on or remove it before baking?
you can do it either way. we left the foil on this year because our oven is intense. it worked great! past years, we’ve always left the foil off!
Hey! Is there a recipe out there for just one pan of cinnamon rolls? Particularly the frosting for just one batch? I ran out (oops) on the other seven batches and need just one more!