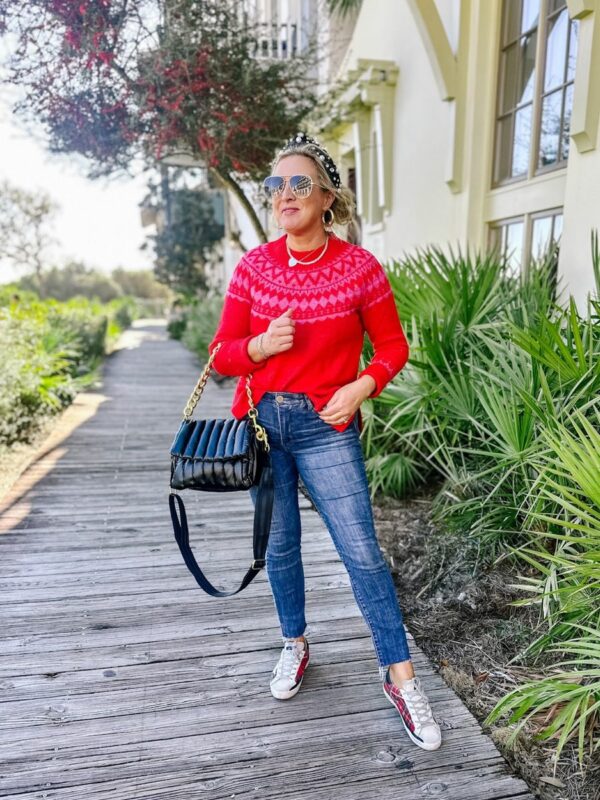
Happy Friday lovelies! I hope you have had the best week! We have had a busy and crazy one, to say the least! We are all headed out of town this weekend, to different places so I have been trying to get the little presidents and moi all packed up and ready to go! Commence over-packing! I might start a support group called “over-packers anonymous.” I would def be the president! Ha! I have done two trips in 2013 where I have carried on my luggage. The frequent flier that is my hubs, hates checking baggage. Think huge tote bag filled with shoes, purses and makeup and a suitcase filled to the brim with clothes! It’s a process. Baby steps…
Anywho, this week has been filled with lots of embroidery work and crafty goodness! I have been stamping and embossing up a storm. I received my f a b u l o u s custom return address stamp from the amazingly talented, Betsy of “Heavens to Betsy” blog! I am in love with it!!!! I have been wanting a calligraphy return addy stamp like this for ages!!!!! I am so excited! I have been stamping up a storm with it!! I am already wanting to pre-order our Christmas card envelopes so I can start stamping them! Ha! But, seriously…looking into that! Minted, here I come!
 The detail is amazing and her calligraphy skills are really incredible!!!! I have always wanted to learn calligraphy, it’s such a beautiful art! (Ps this is not my real address, so don’t try to show up at my door for cocktail hour! Ha!)

Up close and personal pic of her awesome calligraphy skills! I mean…gorg, right?!!!!!!
 If you want to order your own custom stamp (and you should!!!!), you can contact Betsy and she will get you all set up and you will have your own amaze return address stamp! I have a few more ideas of stamps that I want to order from her! Ahhh!!! The possibilities are endless with what you can get on a stamp and she is so sweet to work with! Order your stamp a s a p!!!! You will LOVE it like I do!!!!
 In the midst of the crafty chaos in the craft suite this week, I have been working on lots of thank you cards. I have received some super sweet and thoughtful gifts in the past couple months. I am a tad late on getting some of these cards out, but life happens and at least I am getting them out. So many people don’t send thank you notes anymore and even I have had my share of cards that I haven’t gotten out (since having the little presidents!). It bums me out. Such a lost (and important) art. I have had tons of you request a tutorial on how I do my stamping/embossing, so I put together a little one for you!

I start off with my favorite ink pad and embossing powder. Yes…I even stamp with neon colors. As I said on Insta the other day, “everyday I’m highlightin'” Ha!

You start off by pressing the stamp into the stamp pad. Make sure you press hard enough to cover the stamp with ink (in this case, it’s clear ink), then stamp your paper or whatever you are stamping and then pour your embossing powder on top!
 I tap the card or whatever I have added the powder too and then the extra powder will come right off! Most of the time I do the powder on a manilla folder so I can pour the excess powder back into the container and not waste it! Sometimes I forget that step (like above). Ha!

Fun fact about Moi: when I was younger, I used to stamp and emboss cards and sold them to my mom’s friends and teachers at my school. Always the little entrepreneur. Haha!

I usually do a few cards at a time. You MUST do the powder pretty quickly after you stamp. The powder needs to stick to the wet ink. Once the powder is stuck to the ink, you can wait a few minutes before heating it with the embossing heat tool.

Two super cute hot pink cards all ready to be heated up!

I made a few with my precious gold glitter embossing powder as well! Now we are ready to heat things up!

Now, arm yourself with your embossing heat tool and heat it up! Just heat until you see the powder change into a gorg raised surface…not too long! It’s different with each card, depending on hot the embossing heat tool is!

That’s it!!! It’s really a pretty simple process!!!!

Ps how cute are my glitter clothespins that an Insta customer/friend sent me?! I mean seriously what an adorable and sweet gift!

Now you are ready to start writing your notes! Gold or pink pen required, of course!

The possibilities are endless. You can stamp and emboss pretty much anything! Warning: once you start, you won’t be able to stop! It’s so much fun!!!
Here are a few of my fave stamping and embossing essentials:
Heavens to Betsy Calligraphy Return Address Stamp
*Tons more that I could add, but this should get you started!
I hope you all have an amazing weekend! Maybe you are inspired to do some fancy stamping and write some handwritten notes?! I hope so! I am hoping that this “June Gloom” wears off so Reagan and I can enjoy some fun in the sun on our little trip this weekend! My boys are headed to my precious Texas and I am bummed to be missing out on that trip! 🙁 Hoping I can get there later this summer or fall! Cheers to Friday and the weekend! Woohoo!
Ps I know a lot of you requested a video tutorial and I will hopefully have that up sometime in the next week or two, so check back! I know you are excited for another fancy video! 🙂


Oh gosh I have never been a stamper but maybe I will be now! 🙂 Thanks for the cute tutorial and have a great weekend! xo
Omg! I could not love that stamp any more! Must add it to my wish list…
LOVE your glittery cards! I agree with you about the lost (dying) art of a thank you card. They’re a must for me!
And excuse me, but is that a weiner dog dress you’re wearing?! Adorable.
Happy Friday!!
Adrienne @ http://www.abtakesca.blogspot.com
Oh, thank you so much for sharing! Looks like so much fun
I just recently “found” you via insta and you are just so cute and fun! Love this so much – totally going to try it. Thanks for sharing! 🙂
Sarah
http://www.lifesweetlifeblog.com
I cannot tell you how much fun I have had embossing this week…all of my coworkers have received packs of cards as a Friday happy! 🙂 I seriously think it was the most therapeutic time I have spent doing something “for myself” in a while. Thank you for sharing…I had no idea about this technique! xo PS – The cashier at my Whole Foods yesterday was wearing the shirt from your post and it made me wish I had your # to text you about it! Hahaha. Happy weekend!